
This post contains affiliate links which means if you purchase a product following the link, a portion of the sale goes to support this blog at no additional cost to you. See my disclosure policy to learn more.
OK, so you want to start a side hustle so you can increase your financial security. But you have two objections: you don’t have a lot of time and you don’t have money for a big startup cost.
Selling printables is a great side hustle to get into because your costs are low and you can do a little bit each day. You don’t need to set aside hundreds of dollars or hours of free time. You can do it wall with pocket change in your spare time.
Below is how you can get this business up and running on Etsy in just a few minutes a day. I chose Etsy as a platform because of the low cost and the built in traffic.
You could of course create a printables shop on your own website, but unless you have steady traffic already or you want to spend a lot of time marketing your shop, it will take a while to actually get customers. When you start your shop on Etsy you get access to their customer base and you can always create your own shop off platform later once you build up an audience.

Day 1
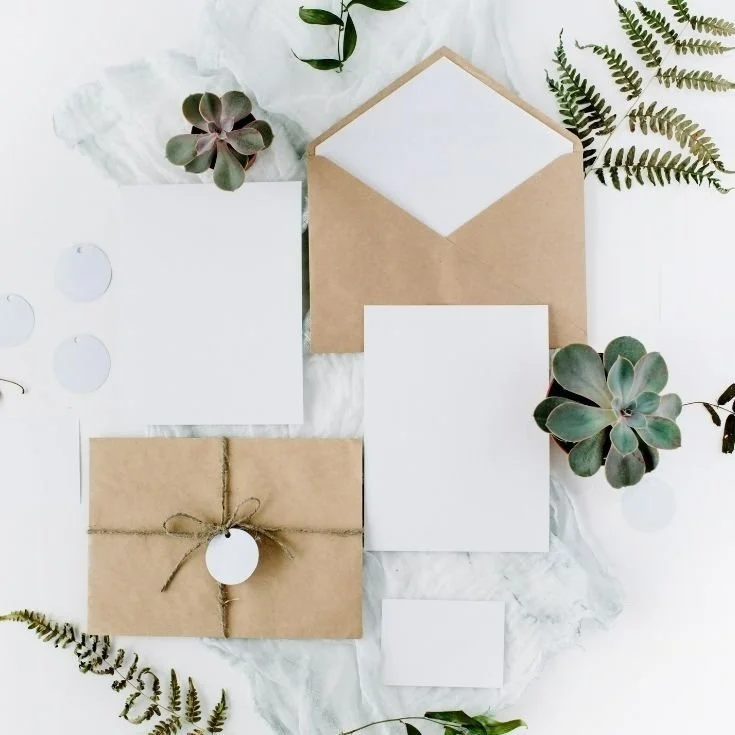
The first step is to decide on what kind of printables you want to sell. You can sell worksheets, or coloring pages, organizers or planners, party invitations or holiday cards or tons of other ideas.
If you need some more inspiration, just check out my recent post on the top digital products to sell on Etsy. Not all the ideas are printables, but most of them are and it can help you find something you might want to create.
Day 2
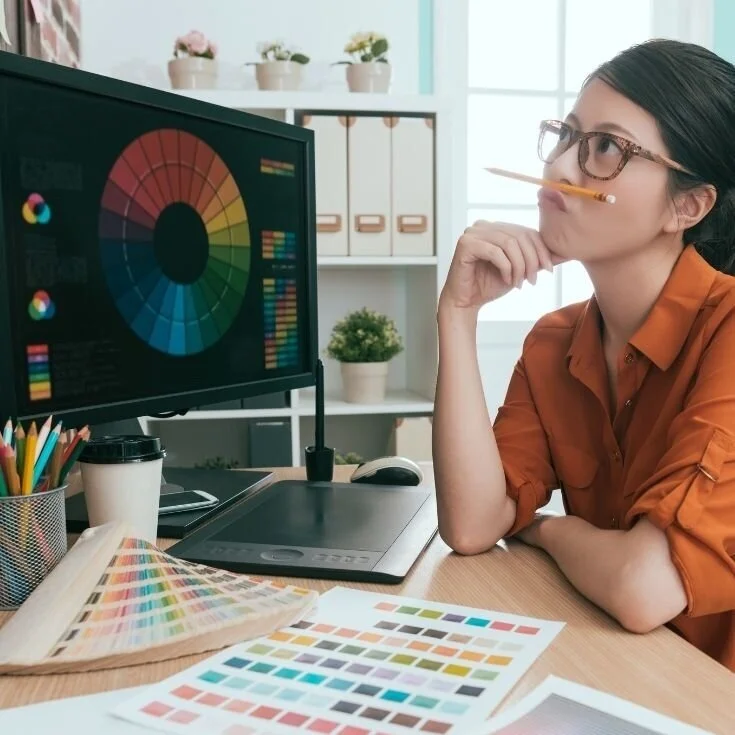
Sign up for Canva.com. Unless you already have a design program you want to use, Canva is a great place to get started designing. Plus, you can get started there for free.
The free version doesn’t have access to every font or graphic, but you definitely have enough to get started. Plus they have templates for many printable products that will help you get started.
Just remember you can’t just sell their templates, but you can use them to get an idea of how you want to format your own products.
Day 3-7
Design a handful (or more) of products. Depending on what kind of printable you are creating, it will take longer or shorter to actually create. A single coloring page might take a few minutes, but a planner might take a few days.
On the other hand, creating a new coloring page you may need to start fresh whereas once you create your first planner, you can copy it and then modify it slightly to create additional planners.
Either way, before opening a shop you will want to have at least a handful of products ready to list.

Day 8
Now that you have some products, you are almost ready to setup your shop. But first, you need a name. Choose a memorable name that reflects your style. Etsy has the following requirements for shop names:
4-20 characters in length
No spaces or special characters
No profanity
Not already in use by an existing Etsy member
Does not infringe on another's trademark
If the shop name you choose turns out to already be in use on Etsy, when you input your selected name you will see suggestions for other shop names that are still available. You can choose one of their suggestions or you can choose to have a few names selected so that if one is in use, you have others to choose from.
Your shop name will be held for you while you open your shop.
Day 9
Next you want to create your Logo and Banner.
You Logo is a square image that is used to represent your shop on your shop main page. It must be a .jpg, .gif or .png file smaller than 10MB and at least 500px by 500px. Just like your products, you can create this right in Canva which also has a ton of Logo templates to help you out.
Your Banner is another way to show off your shop and your products. This can be an extension of your logo, or a place to show off some of your best products. You have a choice between a mini banner (1200 x 160 px) which would mostly be a pop of your brand colors to allow the emphasis to go to your listings below. Or you can choose a big banner (1200 x 300) on which you can put images of your products or info about your shop.
Here is an example of a mini banner and an example of a big banner.
Day 10
It’s time to open your shop. There just a few steps needed to start a shop on Etsy. The first step is to make sure you have an Etsy account. You can use the same account you use for personal use, or you can set up a separate account for your business.
The choice is yours depending on where you want to take this business. For accounting purposes, it may be easier to have separate accounts.
Once you have an Etsy Account, take the following 4 steps.
Click Sell on Etsy on Etsy.com.
Click Open your Etsy shop.
Select your shop language, country, and currency, then click Save and continue.
Choose your shop name, then click Save and continue.
Once your shop is set up, you can add your products, select how you will get paid and choose your billing options.
You now have a shop!!
If you want more tips on making your shop look more professional and therefore get more sales, check out this post on 10 tips to improve your Etsy Shop.
Cheers,
Emily