

Last week Tyler and I created a cute little Easter bunny project with some basic craft supplies. While there was some controversy over whether a bow tie is an article of clothing or a food item (bow tie pasta), we really enjoyed the project overall. This was another quick and fun project that we were able to do in the time between Hailey going to bed and Tyler's bedtime.

What to do
1. Cut out two long pointy ovals from the white card stock for the bunny ears. Cut out two small blue circles for the eyes. You can fold the paper over to make two at once and ensure they are the same size. Cut off a corner of the pink paper for the bunny nose. You can use a pencil to draw the shapes prior to cutting or just free hand it.

2. Glue the eyes and nose onto the face of the plate and the tips of the ears to the back of the plate.

3. Use the black marker to draw the mouth and whiskers.

4. Cut out smaller pointy ovals from the pink paper to be the center of the ears and glue them onto the card stock ears.

5. Cut out a bow tie shape from the green paper. You can use the black marker, or any other color marker to embellish it.

6. Glue the bow tie to the mouth if you want it to be bow tie pasta or under the face if you want it to be a clothing bow tie......

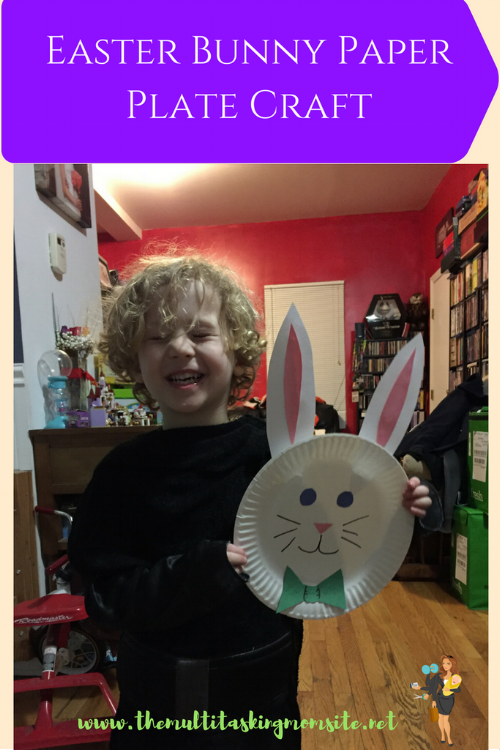
Voila! You have a cute little Easter bunny to hang up or put in front of your face as a mask!
This was a lot of fun and all the supplies were readily available! We hope you try it!
Happy Easter!!
Cheers,
Emily
P.S. Never miss a post by signing up for my weekly newsletter here. Not only will you get notified of the latest blog posts, but you will also get discounts, freebies, and info only for subscribers!