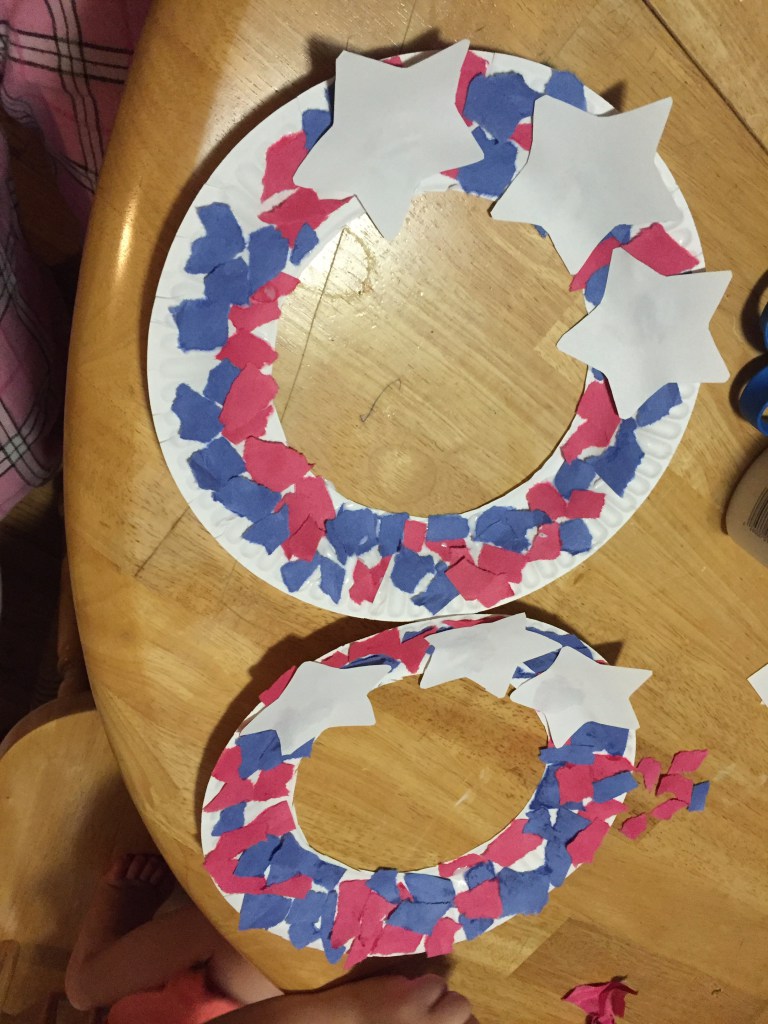
With Labor Day coming up, T and I decided to make another patriotic craft project. I found this project on Pinterest, so if you remember my Things to do Before 32 post, this helps me with one of my things to do. Our patriotic wreath combines two of my 3 year old's favorite things to do: glue things and tear things up. It actually looks pretty cute too!! T liked it so much he actually asked to make a second one and was all set to make a third when bedtime rolled around. So check out how you can make a patriotic wreath to decorate for Labor Day.
What You Need
Red, white, and blue construction paper
Star cookie cutter or any star shape you can trace
What To Do
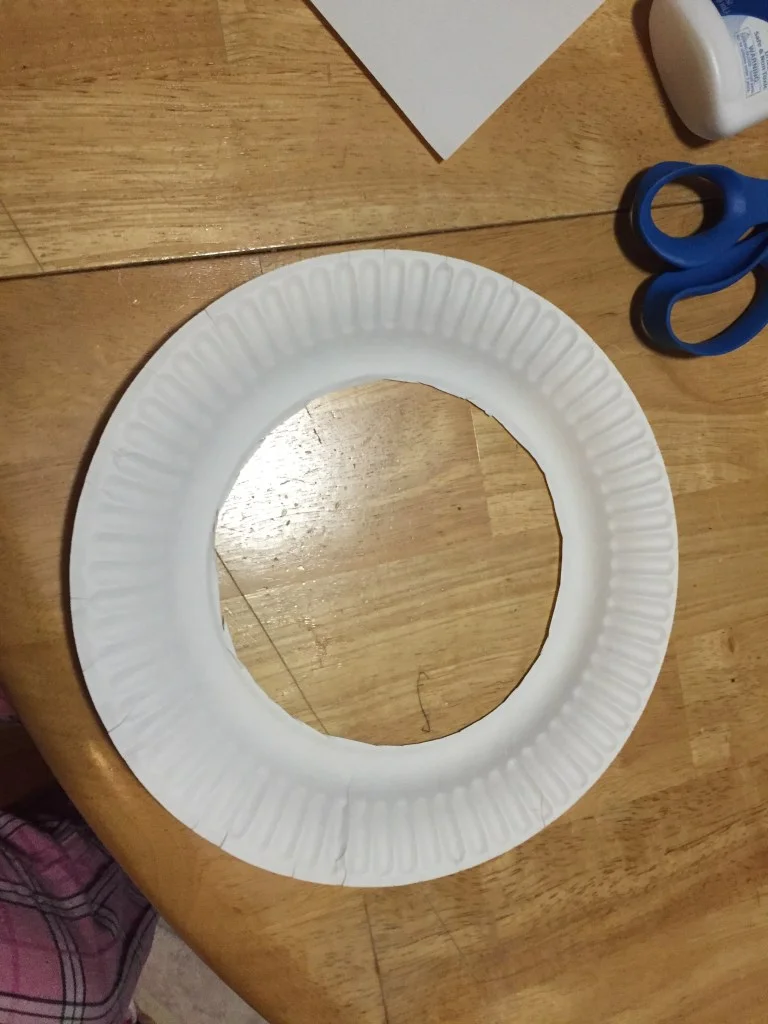
1. The first step is to cut out the center of the plate. I did this by bending it in half, cutting a slit, and then cutting out the center of the plate.
2. Next, your kids can rip up small pieces of the red and blue paper.
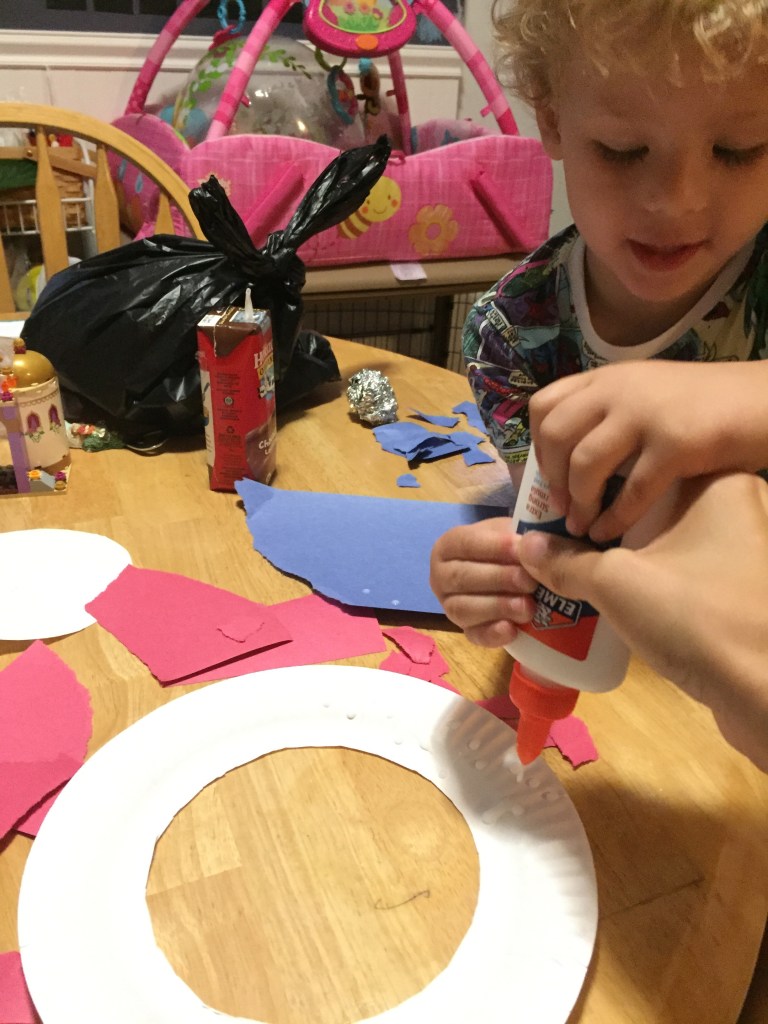
3. Help your kids spread the glue all over the plate and then let them attach the ripped up pieces of paper all over the plate.
4. While your kid is busy gluing on the scraps of paper, you can trace and cut out 3 white stars from the white paper.
5. When your plate is fully covered to your child's liking, glue on the 3 stars for a fun patriotic wreath.
This is a super fun project for Labor Day or Memorial Day, 4th of July, or any day you want to be patriotic. You can check out our other patriotic craft projects here and here. As I said, my toddler liked it so much he wanted to keep making more. He really loves tearing and gluing. Older kids can get more involved by helping with the tracing and cutting as well. You can also challenge them to create cool mosaic type patterns with the red and blue papers instead of just random pasting. This is another great project when you have limited supplies but want something fun and festive.
Try it out and let me know if your child enjoys it!
Cheers,
Emily













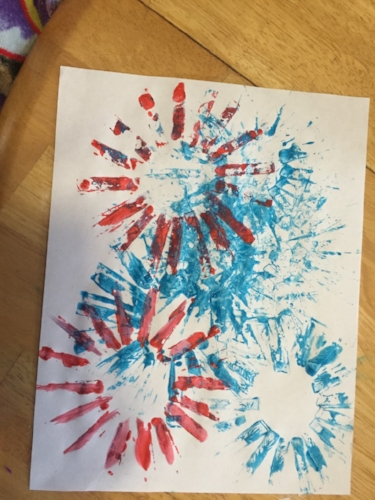




How to make a cute 4th of July Firecracker that can also be used as a party favor!