


This fun and simple Easter bunny craft is perfect for toddlers and preschoolers. All you need is construction paper, a toilet paper roll, a pipe cleaner, and a pom pom or cotton ball.
Check out how to create a bound planner to be sold on Amazon using free tools.
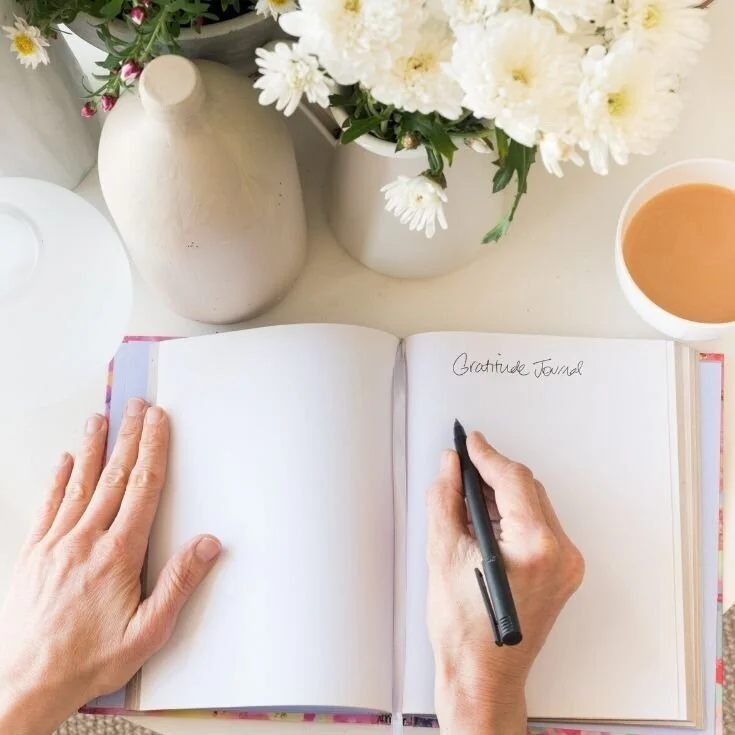
Creating low and no content books is a great way for busy moms to earn a passive income on the side. Find out how.
Check out these ideas for everything from decor to treats to food and favors for a fun mermaid birthday party.

In preparation for Easter, Tyler and I of course had to do an Easter craft. Since T liked painting so much for our St Patrick's Day craft, we decided to paint again for this craft. This time we made an Easter Egg Wreath for the occasion.

Plastic Egg that Opens sideways
First we took our white paper and painted multicolored polka dots using our cotton swabs.

2. Next we painted the border of our paper plate green with our paintbrush.

3. Now we had to wait until our paint dried. We decided to have a snack while we waited.
4. Once our paint was dried, we used our plastic egg to trace egg shapes on the back of our polka dotted paper.

5. Next we cut out our eggs as well as the center of our paper plate.
6. Then came T's favorite part: gluing our eggs onto the paper plate wreath.

7. Finally, you can use a hole punch and ribbon to tie a loop through the wreath to make it easy to hang.

T and I had a lot of fun creating this craft. For older kids, you can cut out the eggs first and have them decorate them like they would a real Easter egg. I like the randomness of the eggs we made however.
This project was extremely helpful in entertaining T on the days leading up to Easter. He is highly anticipating the painting of Easter eggs, but this project allowed him to have some Easter fun in the days leading up to painting eggs with his cousin.
This craft is perfect for toddlers. We hope you try it out!! Share your finished product on our Facebook page!
Cheers,
Emily

Let me send you a whole list of tips to help you make more time for yourself and your goals! Plus you will get weekly emails with more tips and advice.
You have successfully joined our subscriber list.
How to create a super cute Easter chick craft with your kids to add to your easter decor.
Last week Tyler and I created a cute little Easter bunny project with some basic craft supplies. While there was some controversy over whether a bow tie is an article of clothing or a food item (bow tie pasta), we really enjoyed the project overall. This was another quick and fun project that we were able to do in the time between Hailey going to bed and Tyler's bedtime.
With Easter just a few weeks away, putting together an Easter basket for the kids is at the forefront of our minds. For older kids, you can just walk down the aisle of your local pharmacy or discount store, swipe your arm along the shelf, and you have everything you need for your Easter basket. Babies can be a bit harder since they can't eat the candies and many of the toys may not be appropriate for putting in their mouth. The following are my picks for Easter baskets for babies. Best of all, everything is available on Amazon, so no leaving the house!!

Every year the T monster and I do a thanksgiving craft. I also always make fried apple pies every thanksgiving. This is a big hit in our family and always requested. What's awesome is they are so easy to make! This year I thought I'd share some of our traditions with you!

First let's start with the craft. This year we made a:
Orange and red construction paper
1. Let your toddler paint the white paper. There are no rules here. Just paint whatever wherever. Meanwhile, I painted the plate brown. Older kids can probably do this themselves.

2. Cut out a beak from the orange construction paper and a wattle from the red. Your toddler can help you glue these onto the paper plate along with the eyes.

3. Once your child's painting finally dries (this can vary depending on paint usage), cut feathers out of the painted paper. Glue the feathers along the top of the plate.

4. Show off your finished turkey to everyone and anyone!
Next, we have the apple pies. These are super simple to make and the recipe is easily multiplied for larger batches.
1 can Grands Buscuits
2 green apples (I like Granny Smith)
1/2 tsp cinnamon
1/3 cup brown sugar
Vegetable oil
1. Peel and dice the apples.
2. Apple is a sauce pot and mix in cinnamon and brown sugar. Heat until warm.
3. Roll out the biscuits into discs. Place a heaping spoonful of the Apple mixture in the center. Coat the edge of the disc with water and fold over to seal.
4. Heat vegetable oil in pan. Once hot fry pies 2 at a time until they are golden brown. This should take a few minutes per side.

5. Set on paper towels to cool. Enjoy!!
Both the food and the craft are super easy to make and they both were a hit!! The apple pies make a great on the go snack as well!! Hope you try these and let me know how they turn out!!
Enjoy!!
Emily
Let me send you a whole list of tips to help you make more time for yourself and your goals! Plus you will get weekly emails with more tips and advice.
You have successfully joined our subscriber list.
Every year at Christmastime we make time to bake cookies together. One recipe in particular, I have been making since I was in grammar school. They are the most delicious Chocolate Chocolate Chip cookies ever. Now I won't proclaim to be some fabulous baker, but these really are delicious. What's more, one recipe makes about 5 dozen so you really get good bang for your buck. They are great to package up and give as gifts or to bring to parties. So let me take you though our Sunday of baking!

With Halloween coming, T and I recently made a Halloween spider craft. This was super easy and fun. We hung up the end result in the living room and T shows it off to everyone who comes by. It's also nice because it can be adapted to different age groups.


To start, draw a white or silver spider web out of the left corner of the spider web. Then flip the paper so that the web in in the bottom left corner. (This makes it easier to make your hand print.)
Next, paint the palm of your child's hand with black paint. This will be the spider. Form their hand print on the spider's web.
Here are the optional parts. If your kid is not squeamish about paint you can also do a white foot print to be a ghost. Keep the paper upside-down as the heel should be the head of the ghost and the toes should be the bottom. My son is super squeamish about these things, so one hand print was enough.
When you are done with your prints, you can decorate your picture. For younger kids who don't really draw yet, we used stickers of haunted houses and ghosts, etc. to decorate our page. Older kids can use markers or crayons to draw their own spooky scene.
Once the prints have dried, you can add googly eyes to the spider and draw on a ghost face.
This is a super easy project both to create and supply. Nothing you need should be hard to find and you may just have it all at home! I love it because you can make it fun for all different age groups.

Definitely, try it out and share your finished products on my Facebook page!!
Let me send you a whole list of tips to help you make more time for yourself and your goals! Plus you will get weekly emails with more tips and advice.
You have successfully joined our subscriber list.
Ideas to ensure your kiddos have a healthier Halloween without ruining the fun!
With Halloween coming up, I thought it would be helpful to put together a list of fun DIY costumes. But, unlike many other lists, this list makes sure you get the most bang for your time. This means least complicated but with great outcomes.
Last week, T and I decided to create our Halloween craft project. This year we made ghosts and spiders out of lollipops and a few basic crafting supplies. This is a fun craft for toddlers and great for Halloween parties or for bringing treats to school.


This fun and simple Easter bunny craft is perfect for toddlers and preschoolers. All you need is construction paper, a toilet paper roll, a pipe cleaner, and a pom pom or cotton ball.